How to Write in Cursive: The Complete Guide with Examples
You have seen beautiful cursive handwriting and wished you could write like that. Perhaps you learned it in school but have not used it in years. Or maybe you never learned at all and want to start from scratch. Whatever your situation, learning to write in cursive is a rewarding skill that combines art and practicality.
You are not alone. Writing in cursive is a timeless skill that many people want to master. Cursive writing is a flowing style where letters are joined together, designed for speed and elegance. It remains valuable for handwritten letters, formal signatures, personal notes, and creative expression. With the right approach, anyone can learn to write in cursive.
This guide will teach you everything you need to know about how to write in cursive. We will cover the basics, the step-by-step process for each letter, practice techniques, and common mistakes to avoid. By the end, you will have the tools to develop beautiful, flowing cursive handwriting.
Cursive Writing at a Glance
1 What Is Cursive Writing and Why Does It Matter?
Cursive writing is a style of handwriting where the letters are joined together in a flowing manner. The idea is to write without lifting your pen or pencil between letters. This creates a continuous, elegant script that is both beautiful and efficient.
Cursive writing was first developed in the 17th century and was widely adopted by professionals for writing important documents. Its origins are linked to the quill pen, which allowed people to write for extended periods without lifting the quill from the page. Although technology has transformed the way we write today, cursive handwriting remains a helpful and valued skill.
Learning cursive offers several benefits:
- Improved writing speed: Because letters are connected, you spend less time lifting your pen, which can increase your writing speed.
- Enhanced brain development: Neuroscience research suggests that cursive writing helps activate neural pathways that facilitate learning and language development.
- Better memory retention: Note-taking by hand, especially in cursive, improves the ability to remember and retrieve information.
- Support for dyslexia: Writing in cursive can help students with dyslexia because the word becomes a unit rather than separate strokes, reducing the likelihood of reversing letters.
- Elegant personal expression: Cursive adds a touch of elegance to personal communications, formal invitations, and official letters.
Faster Writing
Connected letters reduce the need to lift your pen, allowing for quicker, more fluid writing.
Cognitive Benefits
Cursive writing activates neural pathways that support learning, memory, and language development.
Elegant Style
Cursive adds a touch of sophistication and elegance to any handwritten document.
Personal Touch
Handwritten cursive notes and letters carry a personal warmth that digital messages cannot replicate.
2 The Fundamentals of Writing in Cursive
Before you start writing, you need to understand the foundational principles that underpin every effective cursive hand.
Gather Your Materials
Having the right tools makes a great difference as you learn cursive. You will need:
- A comfortable pen or pencil — ink pens, gel pens, or quality pencils work well
- Smooth-lined or cursive practice paper with guiding lines for beginners
- Cursive handwriting worksheets for structured practice
Learn Proper Grip and Posture
Proper hand placement and sitting posture affect comfort, neatness, and handwriting skill.
- Hold your pen gently and comfortably, using a relaxed grip rather than tensing your fingers
- Rest the side of your writing hand lightly on the page for stability
- Sit up straight and comfortably at a desk or table, positioning your paper slightly at an angle
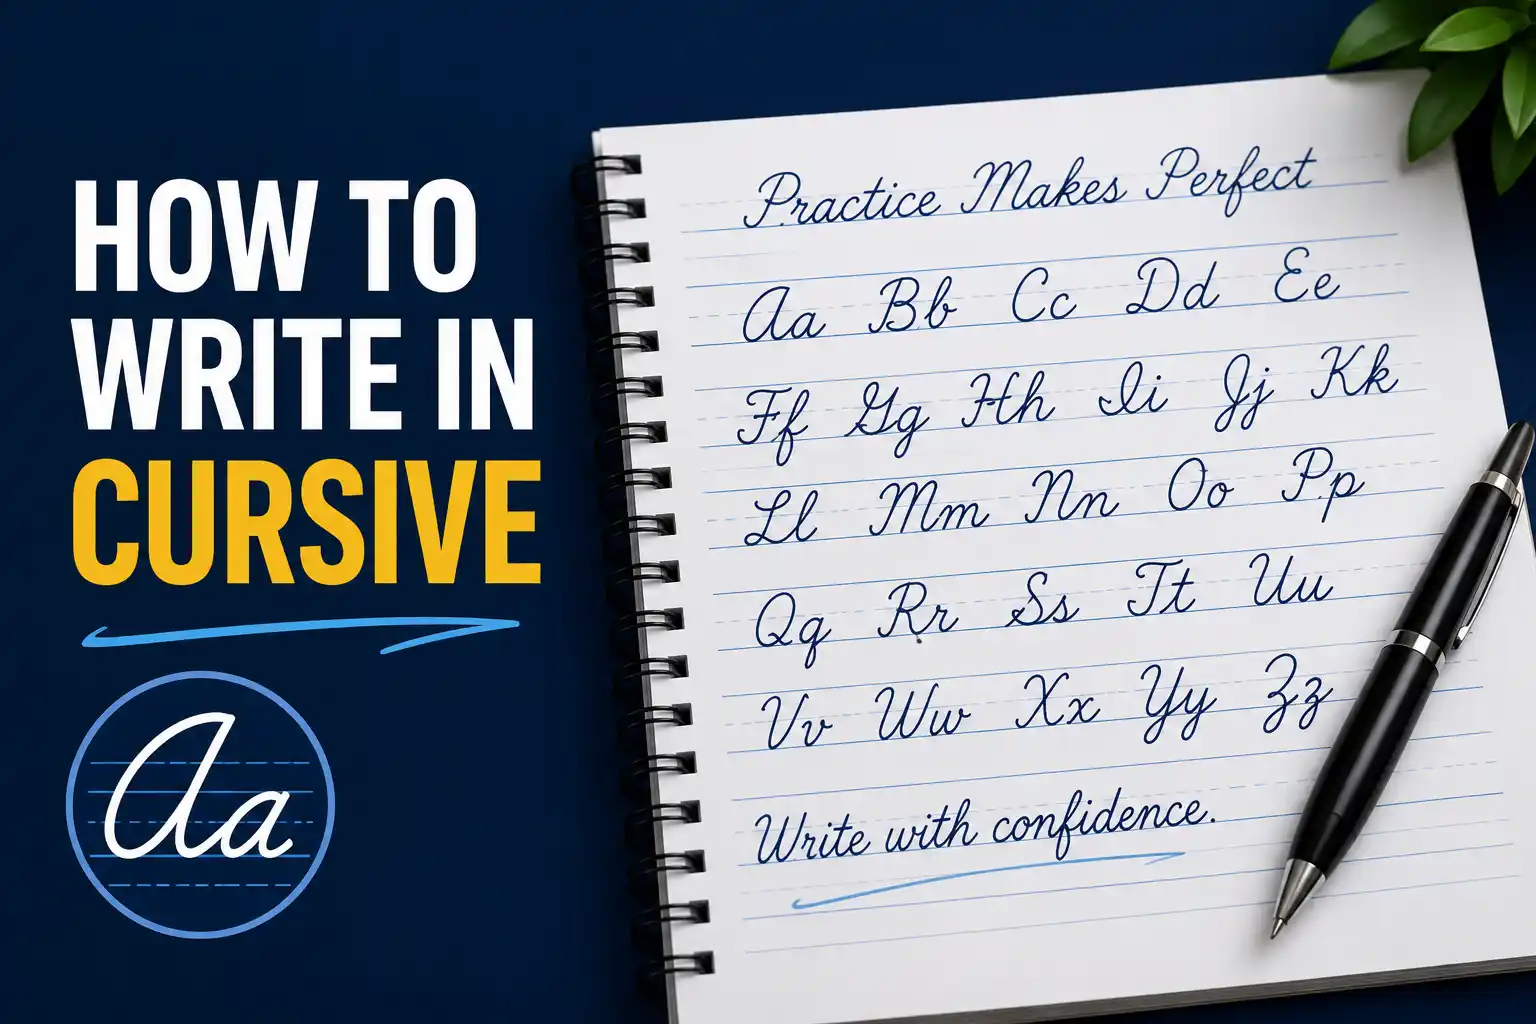
Understand the Cursive Alphabet
In cursive writing, letters are interconnected. Begin by becoming familiar with the shapes and movements of individual letters. Consistently reference a cursive alphabet chart until you are comfortable with each letter's shape.
The Key to Cursive
The essence of cursive is connecting each letter smoothly. The goal is to limit how often your pen leaves the paper, creating more fluent movements with practice. Focus on the flow from one letter to the next, not just individual letter shapes.
3 How to Write Lowercase Cursive Letters
When learning how to write in cursive, start with lowercase letters. They are usually the starting point and have simpler forms. We will split the lowercase alphabet into two sections: upward stroke letters and curve stroke letters.
Upward Stroke Letters
Letters such as b, h, m, and u all start with an upward stroke. The letter 'u' is often the easiest to grasp:
How to Write 'u'
- Place the tip of your pen on the bottom line.
- Create an upward stroke towards the dashed line.
- Create a downward stroke, dipping to the bottom line and swinging up again.
- Create one more downward stroke to end just above the bottom line.
Curve Stroke Letters
Letters such as a, c, e, i, o have relatively simple curved forms. Start with these before moving on to more complex letters like b, f, k, and z.
Practice Order
Begin by practicing letters like a, c, e, i, o, and u as these have relatively simple forms. Move on to more complex letters such as b, f, k, and z.
4 How to Write Uppercase Cursive Letters
Once you are comfortable with lowercase letters, move on to uppercase (capital) letters. These letters tend to have more variations and flourishes, and usually they do not connect directly to the following lowercase letter.
Key Points for Uppercase Letters
- Uppercase cursive letters often start with a loop or a flourish at the top.
- They are generally taller and more elaborate than lowercase letters.
- Practice each capital letter individually before incorporating them into words.
Tips for Uppercase Letters
- A: Start with a large loop at the top, then curve down and cross.
- B: Begin with a loop, then curve down and create a large bottom loop.
- C: A large, smooth curve from top to bottom.
- D: Start with a loop, then a tall downward stroke with a curve at the bottom.
- E: A large curve with a loop at the top and a horizontal stroke.
5 How to Connect Letters in Cursive
The essence of cursive is connecting each letter smoothly. Once you are comfortable creating individual letters, start connecting letters together to form words.
Start Simple
Begin with simple two-letter combinations, then gradually progress to more complex words and sentences. The goal is to limit how often your pen leaves the paper, creating more fluent movements with practice.
Common Connections
- Connecting 'a' to 'b': After writing 'a', continue the stroke up to the top line to begin 'b'.
- Connecting 'o' to 'u': After completing the 'o', swing up to the dashed line to start the 'u'.
- Connecting 't' to 'h': After the crossbar of 't', continue the stroke up to begin the upward stroke of 'h'.
Example Words to Practice
- Simple: "at," "on," "it," "up," "us"
- Medium: "cat," "dog," "run," "sun," "the"
- Complex: "beautiful," "together," "wonderful," "creative"
6 Pay Attention to Spacing and Slant
Proper spacing and slant are essential aspects of beautiful cursive handwriting.
Consistency in Spacing
Maintain even spacing between letters and between words. Too wide or too narrow spaces can make your handwriting difficult to read. Aim for consistent spacing that allows each letter to be clearly distinguished.
Consistency in Slant
Cursive often tilts slightly to the right. Consistency in this slant makes handwriting aesthetically pleasing. Use practice guidelines on worksheets or ruled paper to help maintain a uniform slant.
Good Spacing
"The quick brown fox" — each letter and word has consistent, readable spacing.
Poor Spacing
"Thequickbrownfox" — no spacing between words makes it hard to read.
7 How to Practice Cursive Writing Effectively
Consistent, focused practice is the key to improving your cursive handwriting. Here are some effective practice techniques.
Practice Daily
Practice daily, even if just five minutes at a time. Daily practice is imperative to properly learning cursive writing. Short, regular practice sessions are more effective than long, infrequent ones.
Start Slowly
As you first begin, deliberately slow your pace to reinforce proper form and letter structure. Do not focus on speed initially — focus on accuracy and consistency. Speed will come naturally with practice.
Use Practice Sheets
Cursive handwriting worksheets or practice sheets provide structured practice for forming letters and words. Using cursive handwriting workbooks or practice sheets is an effective way to improve.
Practice Letters in Groups
Practice the letters in groups of similarity. For example, practice all the upward stroke letters together, then all the curve stroke letters. This helps reinforce the muscle memory for each stroke type.
Tip 1: Daily Practice
Commit to practicing for 5–15 minutes every day. Consistency is more important than duration.
Tip 2: Slow Down
Write slowly and deliberately. Focus on forming each letter correctly before worrying about speed.
Tip 3: Use Guidelines
Practice on ruled paper with dashed midlines to help maintain consistent letter size and slant.
Tip 4: Trace First
Begin by tracing letters over dotted lines, then gradually move to writing them independently.
8 Common Mistakes to Avoid
Even experienced writers make mistakes. Here are the most common errors and how to avoid them.
Inconsistent Slant
Letters tilting in different directions, making the writing look messy and uneven.
Fix: Use guidelines on practice paper to maintain a uniform slant. Aim for a consistent 15–20 degree angle.
Uneven Spacing
Inconsistent spacing between letters or words, making the text hard to read.
Fix: Practice maintaining even spacing. Aim for about one letter-width between letters and one word-width between words.
Lifting the Pen Too Often
Breaking the flow by lifting the pen between letters, defeating the purpose of cursive.
Fix: Focus on connecting letters smoothly. Practice two-letter combinations before moving to longer words.
Gripping Too Tightly
Holding the pen with too much tension, leading to fatigue and poor letter formation.
Fix: Use a relaxed grip. Hold the pen gently, allowing for smooth, fluid movements.
Rushing
Writing too quickly before mastering the basic letter forms, resulting in sloppy handwriting.
Fix: Slow down and focus on accuracy. Speed will come naturally with practice.
Poor Posture
Slouching or having the paper at the wrong angle, affecting handwriting quality.
Fix: Sit up straight and position your paper slightly at an angle (about 20–30 degrees) for optimal writing.
9 How to Revise and Improve Your Cursive
Improving your cursive handwriting is an ongoing process. Here is a step-by-step approach to refining your cursive skills.
Step 1: Analyse Your Writing
Write a sample paragraph and analyse it. Look for inconsistencies in slant, spacing, and letter formation. Identify specific areas that need improvement.
Step 2: Focus on Problem Letters
Identify the letters you struggle with most and practice them individually. Spend extra time on these letters until they become natural.
Step 3: Practice with Words
Write words that contain the letters you are practising. This helps you work on connecting letters smoothly while reinforcing individual letter shapes.
Step 4: Write Sentences
Once you are comfortable with words, move on to full sentences. This helps you practice spacing, rhythm, and overall flow.
Step 5: Get Feedback
Ask someone with good handwriting to review your work and provide constructive feedback. Fresh eyes can identify issues you might miss.
Step 6: Be Patient
Improving handwriting takes time. Consistent, repeated practice allows muscle memory to develop. Do not get discouraged — progress will come with persistence.
10 Practice Exercises to Improve Your Cursive
The best way to get better at writing in cursive is to practice. Here are some exercises to help you sharpen your skills.
Exercise 1: Basic Strokes Practice
Practice the basic strokes: upward lines, downward curves, and loops. These form the foundation of all cursive letters.
Exercise 2: Letter Family Practice
Practice letters in groups: a, c, e, i, o, u (simple curves); b, h, k, l, t (upward strokes); g, j, p, q, y (downward strokes).
Exercise 3: Two-Letter Combinations
Practice common two-letter combinations: "at," "on," "it," "up," "us," "be," "do," "go," "he," "we."
Exercise 4: Pangram Practice
Write pangrams — sentences that contain every letter of the alphabet. For example: "The quick brown fox jumps over the lazy dog."
Final Thoughts
Writing in cursive is a beautiful and valuable skill that anyone can learn. It combines the practicality of efficient writing with the elegance of artistic expression. Whether you are using it for personal notes, formal letters, or creative projects, cursive adds a personal touch that digital communication cannot replicate.
Remember that learning cursive is a journey, not a destination. Be patient with yourself. Celebrate small improvements. Consistent practice is the key to developing smooth, flowing cursive handwriting.
Keep these principles in mind as you practice:
- Start with the basics. Master the fundamental strokes and simple letters before moving to complex ones.
- Focus on consistency. Maintain even spacing and a uniform slant for beautiful, readable cursive.
- Practice daily. Even a few minutes each day will lead to steady improvement.
- Slow down. Accuracy is more important than speed when you are learning.
- Enjoy the process. Take pride in the beauty of your handwriting as it develops.
Cursive writing is more than just a way to form letters. It is a form of personal expression that connects you to centuries of handwriting tradition. As you develop your cursive skills, you are not just learning a practical skill — you are cultivating an art form that reflects your unique personality.
Now pick up your pen and start writing. Your beautiful cursive handwriting awaits.